
This background could be keyed out but I've decided to manually erase it using an image editing program then saving the image as a PNG. PNG files have an alpha layer so when I import them into After Effects the background will already be transparent and this will save processing power and memory when it comes to rendering because the computer won't need to do so many calculations.
So the result is files like these...
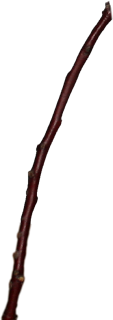
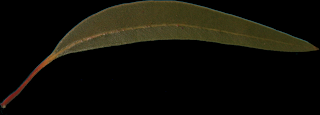
The next step is to import the PNG of the stem or branch into After Effects then set its anchor point to be at the end of the wood in which it is intended to grow from. If you enlarge the below image you will see a cross hair at the base of the stem. This may seem contradictory but the background is almost made blue, however this is pure blue and will key very easily when the time comes.
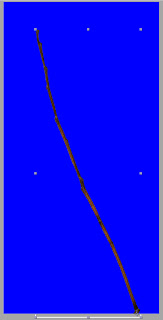
Now I adjust the colours. At frame 0 I change the hue to make the steam appear green, this way it will look fresh as it begins growing. At frame 50 I change the hue to make the stem appear older and worn. So over the two sections it grows it will start a green shoot then gradually become
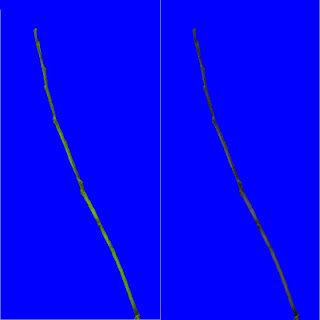
To make the stem look like its growing I return to frame 0 and change the scale to 0%, then at frame 50 I make it 100%. Now over the 2 seconds the stem will grow from nothing to its full size and since its been anchored at the base it will appear to be growing from that point.
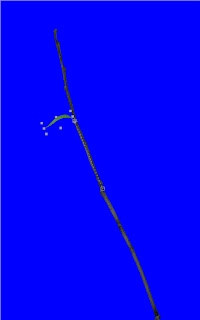
A similiar to process is used to simulate a leaf growing only the leaf will be growing as the stem grows. To make this look plausible the leaf will also need to move as its resized, so this is a matter of adjusting its position so it appears to remain growing out of the place on the stem. The dotted line represents the leaf's moving path.
Now to add a couple more leaves growing at different intervals and the end result is this:
No comments:
Post a Comment